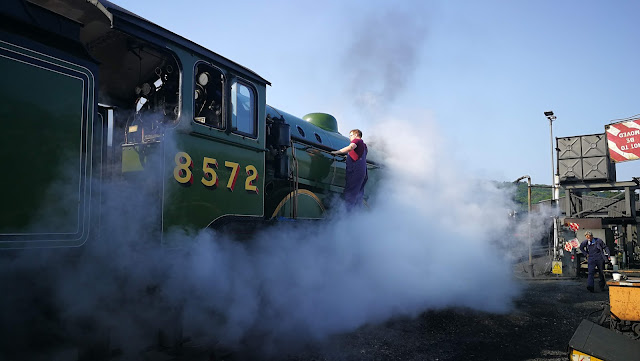
Wednesday morning starts bright and early as usual; we are here for a green timetable with two trains. I'm Cleaner 2 and am expecting the 4MT, but today the Y14 is starting service and Loco 2 is the B12. She's pretty warm from the previous day, so I elect to clean the fire with irons instead of getting in the hot firebox; this is my usual course of action and seems to work today. I pull all the old fire to the back before leaning in and removing a couple of firebars to push the ash and clinker inot the pan.
I've pulled out the flame scoop so it's pretty simple to build the fire - I must remember not to rush it and load the shovel too much, because you lose control of where the coal is going if the shovel is too heavy. Turns out OK though:
I light up by the method I used last week - long pieces of wood wrapped with rags, lit from a burning rag in the rear of the box and thrown to the front; I put short pieces across the back. It goes easily - I am getting the hang of this now. In no time I have the blower on:
I turn my attention to the paint. It's smart to leave the front of the boiler until the blower is on and the brake pump has been tested, as soot will get blown all over your paint. With the B12, we are supposed to used Traffic Film Remover for day to day cleaning, using polish only for deep cleans - but since Traffic Film Remover, while excellent at getting rid of sticky soot deposits also leaves a dull finish, so polish is the way to go every time.
When I'm done, we roll back over the pit for blowdown:
Next job is to wash down the ash pan and rake out the ash; the loco goes back for coal. When the crew go to change, I sit with the loco and tend the fire - it's come around to 200 psi and needs some coal in the middle.
The B12 goes off-shed at 10:18, and hour after the Y14; a short while later, the Y14 returns with our breakfast from the Sheringham buffet.
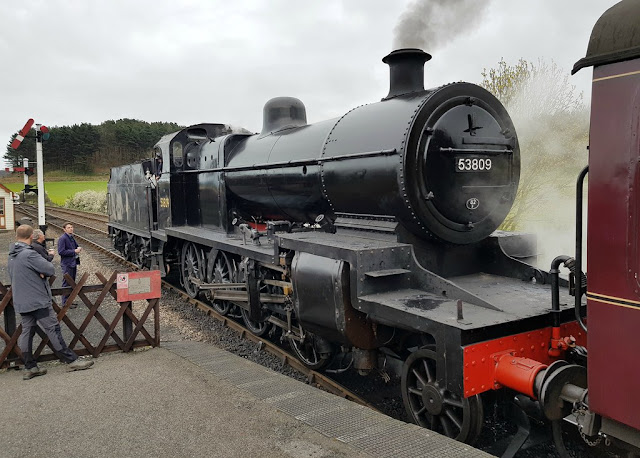
My next job for the day is to strip the safety valves on the 7F; I learn that valves from the Y14, which I stripped and reseated last week, went back together and worked straight off, so I'm pleased with that. I now have the same job to do on the 7F.
These are also Ross type Pop safety valves, so we start by removing the top cap - this one is not adjustable, so all we have to do is mark it '1' for the front valve and '2' for the rear.
Next we use a vernier caliper to record the position of the setting nut from the top of the valve spindle:
I mark the measurement on the valve shroud.
Next I have to get the valve shroud off. I've bolted the flange to the bench and go in search of a wrench to remove the shroud. Using a chain wrench with a bit of steel to protect the bronze casting, it won't budge. These have never been stripped at the NNR.
Sterner measures are required:
That does the trick:
I'm running out of time, so I spend the last hour cleaning up the bits.


No comments:
Post a Comment